Synology DS718+ RAM Upgrade
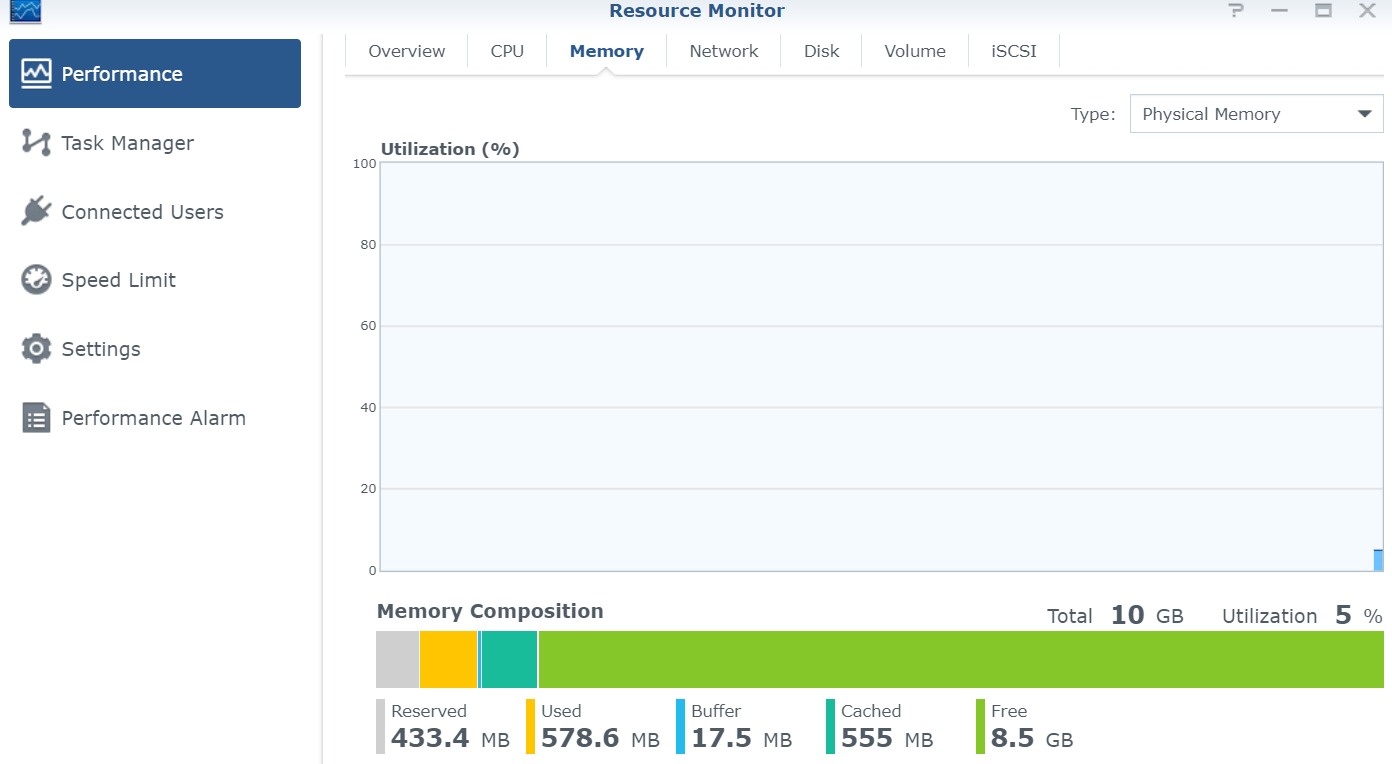
By default, the Synology DS718+ comes with 2GB of RAM. This article shows how to extend the Synology DS718+ to 10GB by another 8GB bar. In my case, the entire installation time did not require more than two minutes.
Hint: I don't take any responsibility for your systems. You act at your own risk!
My Setup
- Synology DS718+ with 2GB RAM by default
- WD RED 6 TB Primary HDD
- WD RED 6 TB Secondary HDD
- 128 GB SanDisk Ultra External USB
RAM Upgrade
The RAM
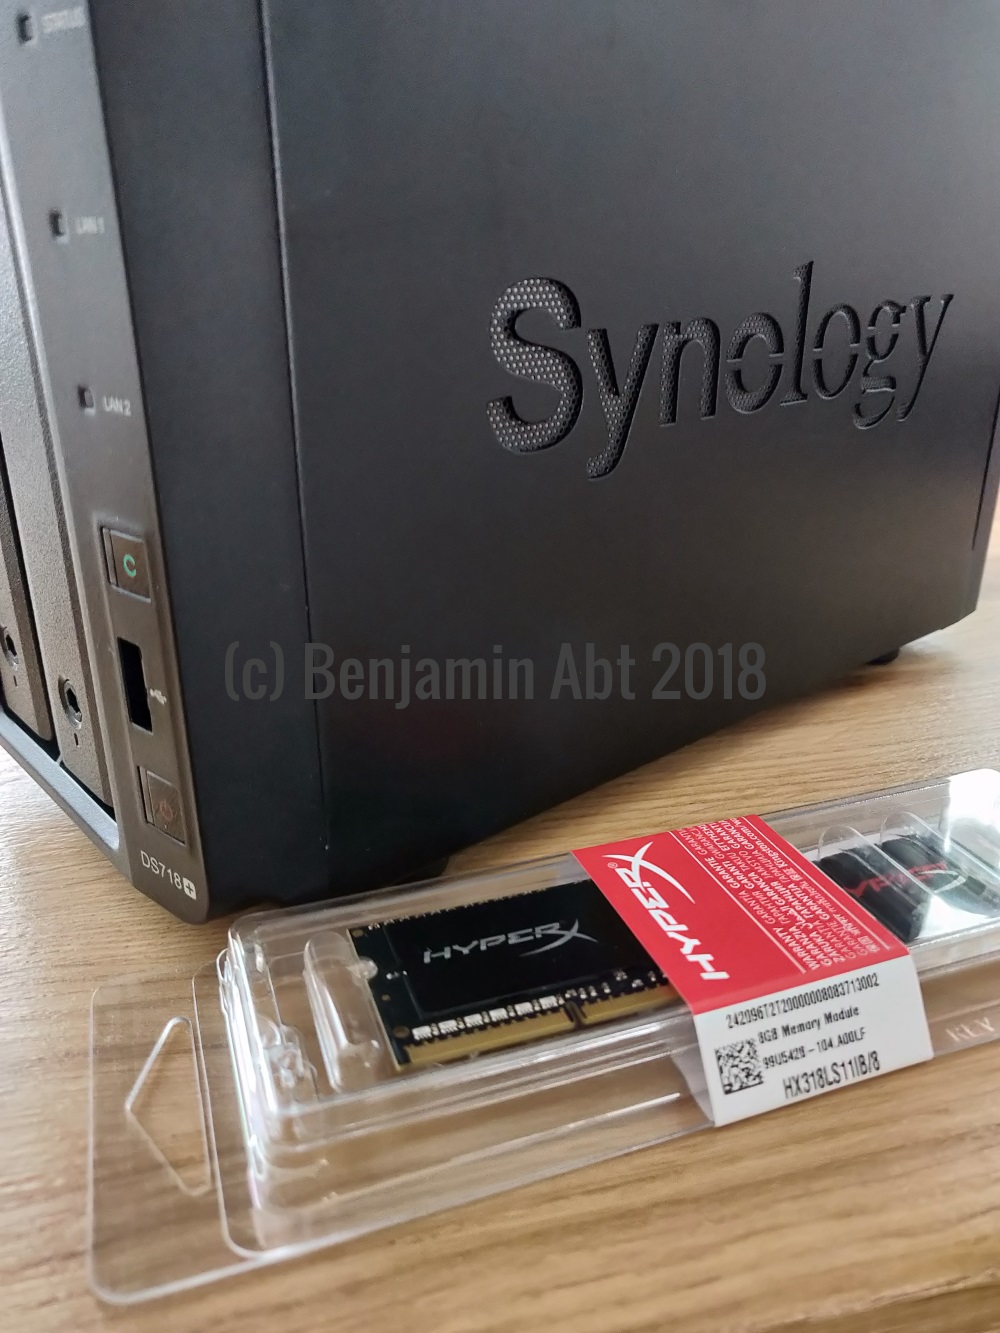
Synology offers numerous RAM extensions on Amazon, which are very expensive. After some research, I found out that the Kingston HX318LS11IB/8 RAM (up to 2x8GB) is already working successfully in other DS718+ setups.
It is important to note that the DS718 + has two RAM slots. One RAM slot is already used by 2GB, which are installed by default.
Upgrade
(1) Turn off the DS718+ and remove all cables
Please handle with care while working on cables!
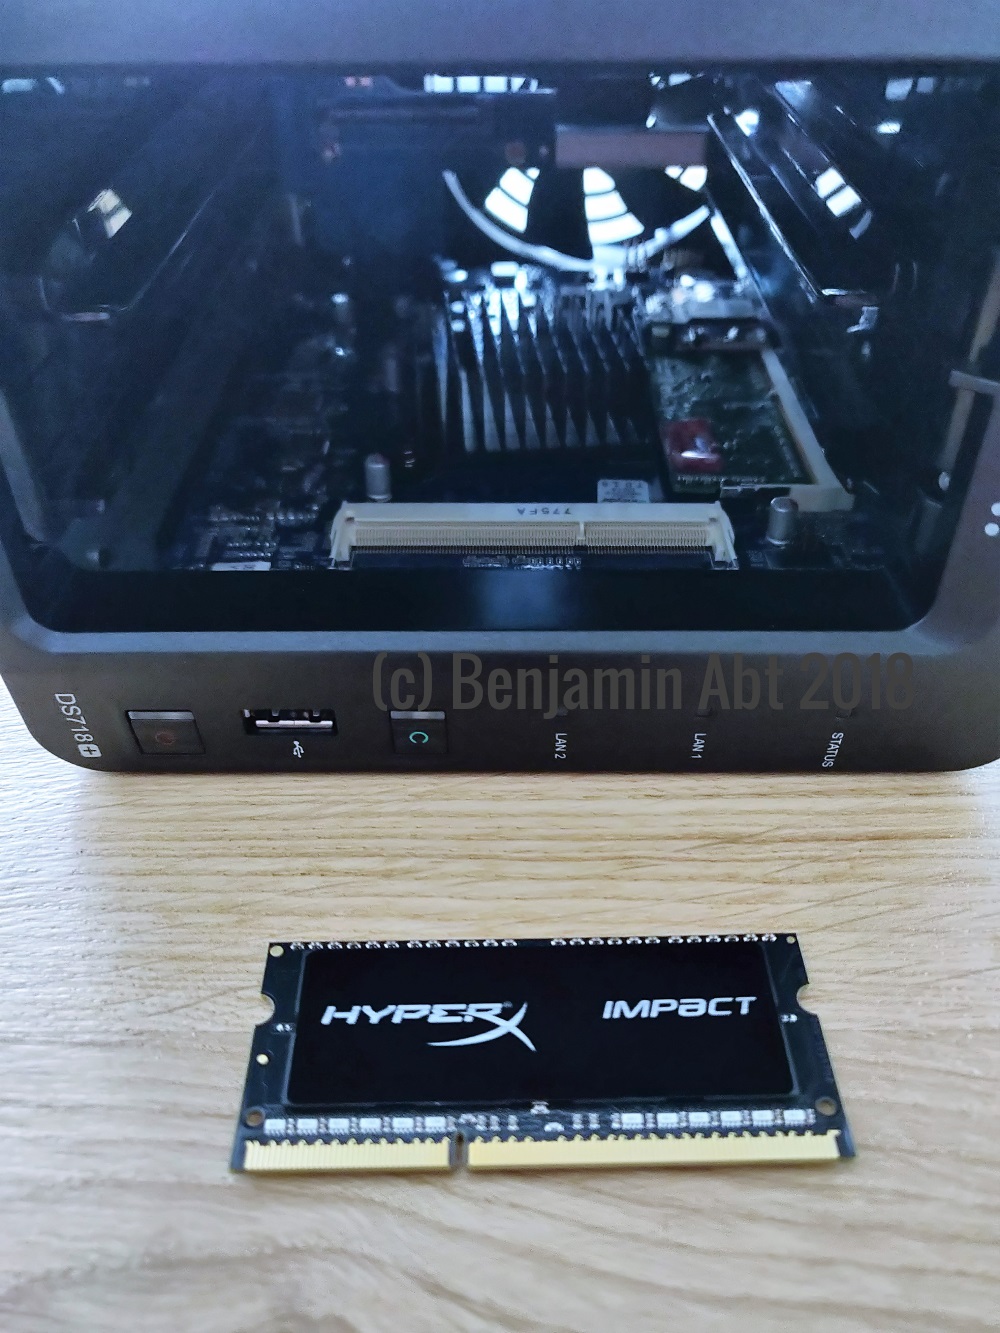
(2) Uninstall both HDD frames
To access the RAM slots you have to remove both HDD frames. If your frames are locked, unlock them first. Remember which hard drive was in which slot.
(3) Remove dust
Take advantage of the open synology opportunity and remove any existing dust inside. I use I use ozon-friendly compressed air spray from the can..
(4) Prepare
Put your NAS sideways on a sturdy table and make sure the RAM slots are at the bottom.
Carefully open the packing of the RAM bar. Pay attention to anti-static conditions.
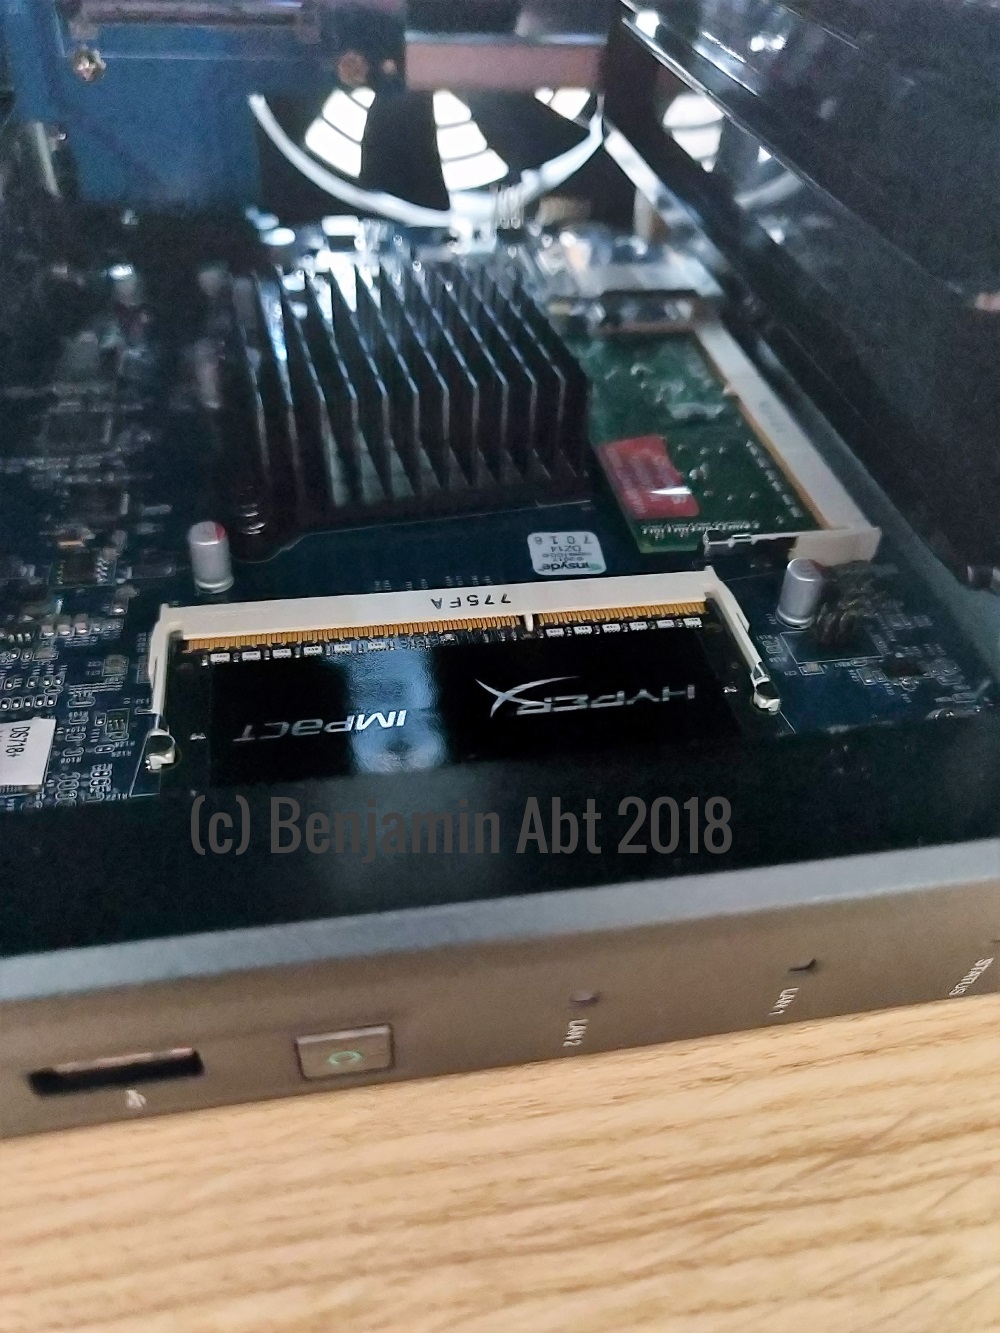
(5) Install RAM
Carefully install the RAM in the slot. Make sure the groove is on the right side. The RAM is inserted at approximately 30 degrees angle and then pushed down. You feel when the RAM bar locks in.
(6) Install HDDs and cables
Put all the hard drives back into place, which you noticed in the second step. Please handle with care while working on cables!
(7) Start your NAS
The first boot after a RAM upgrade takes a little longer.
(8) Have fun with more ram!
Autor

Benjamin Abt
Ben is a passionate developer and software architect and especially focused on .NET, cloud and IoT. In his professional he works on high-scalable platforms for IoT and Industry 4.0 focused on the next generation of connected industry based on Azure and .NET. He runs the largest german-speaking C# forum myCSharp.de, is the founder of the Azure UserGroup Stuttgart, a co-organizer of the AzureSaturday, runs his blog, participates in open source projects, speaks at various conferences and user groups and also has a bit free time. He is a Microsoft MVP since 2015 for .NET and Azure.